Streamlining Address Entry in Dynamics 365: Auto-Population with Bing Maps Integration
In Dynamics 365, streamlining data entry processes can greatly enhance user productivity and data accuracy. One effective way to achieve this is by implementing auto-population of address fields. In this guide, we'll walk through the step-by-step process of creating HTML and JavaScript code to auto-populate address fields in Dynamics 365 using Bing Maps integration.
Understanding the Benefits
Streamlined Data Entry: Save time by automatically filling in address details.
Improved Data Accuracy: Ensure correctness and consistency by fetching address info from external sources.
Enhanced User Experience: Provide users with a smoother process, eliminating the need for manual address input.
Consistency Across Records: Maintain uniform address formats across all CRM records.
Integration with External Systems: Work seamlessly with other systems to fetch up-to-date address info.
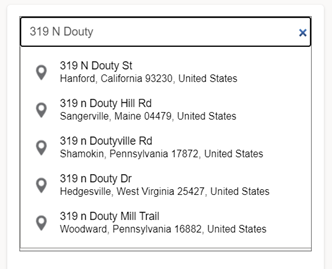
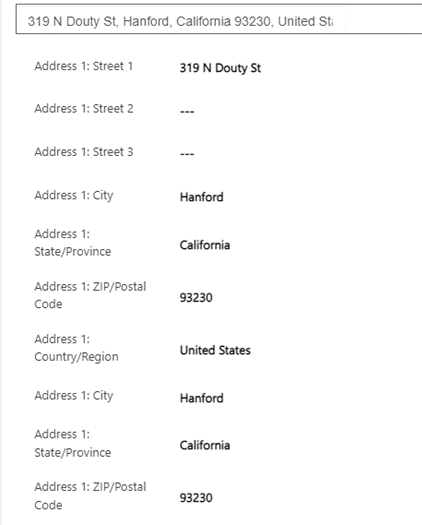
Step 1:
Creat HTML code and JavaScript Code
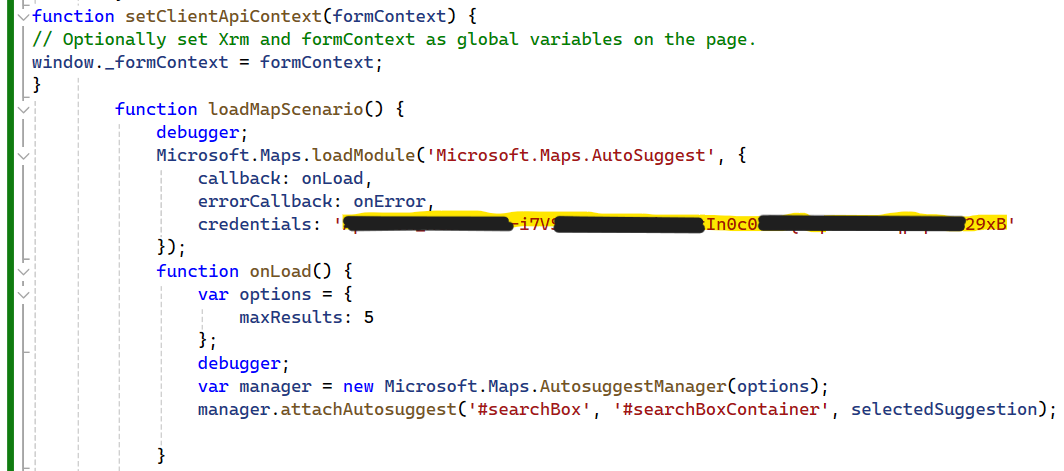
In the HTML page with JavaScript function for auto-suggesting address using Bing Map intergartion and efficiency in data entry processes within Dynamics 365.
The JavaScript code is written to establish communication between the form context and a web resource embedded within a Dynamics 365 form.
If you need this HTML code and JavaScript Function, go through this link.
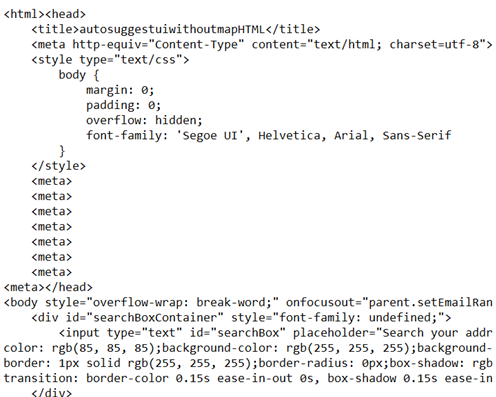
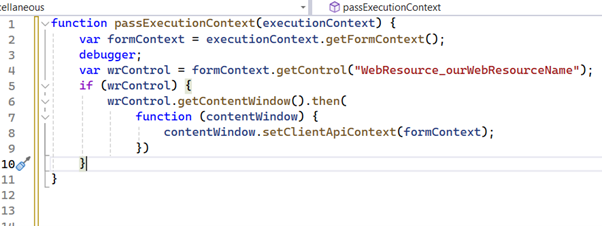
In HTML code you have JavaScript Function is "loadMapScenario" and then add that Credentials ID and you can add that ID in JavaScript function using Bing Map Portal. For every instance there will be a different Credentials ID.
Step 2:
Get Bing Map Credentials
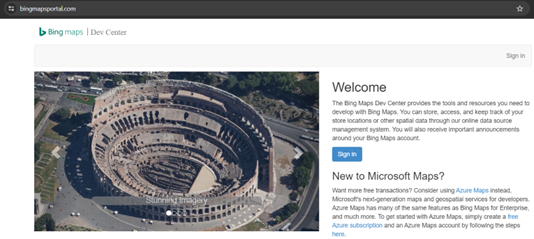
Sign Up and Create an Account in Bing Map Portal
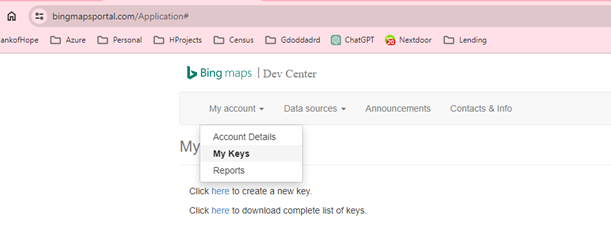
Open my account and press My Keys.
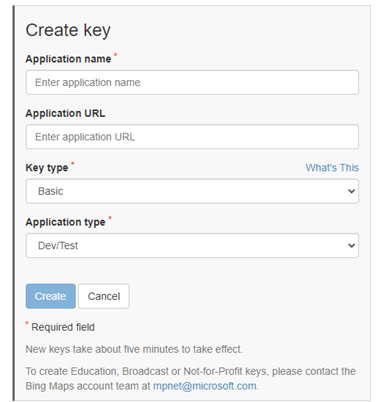
Fill the all details
Give your Instance name to application name or you wish.
Give your instance URL.
Set Key type is Basic only.
Set Application is Dev/Test and then click on create.
You will get the Key details like this. In this you must copy the Copy Key and past it in your JavaScript function in "loadMapScenario".

Step 3:
Create Web Resources for HTML and JavaScript
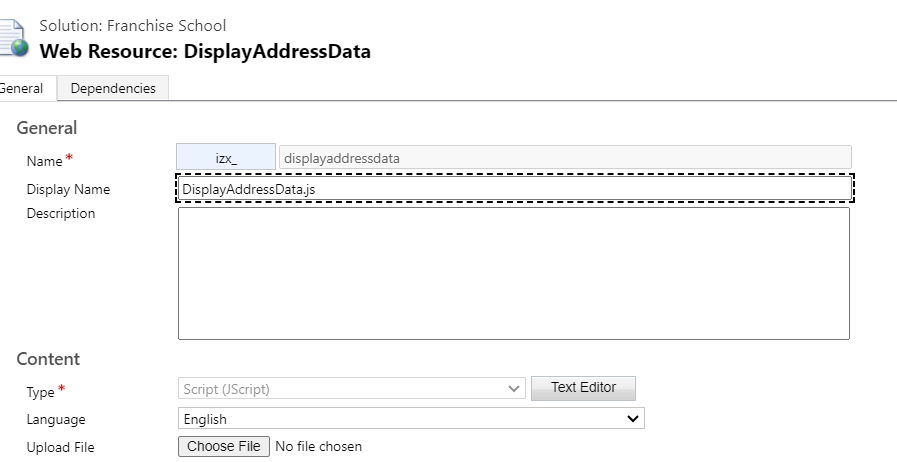
Upload the HTML and JavaScript files in web resources in Dynamics CRM.
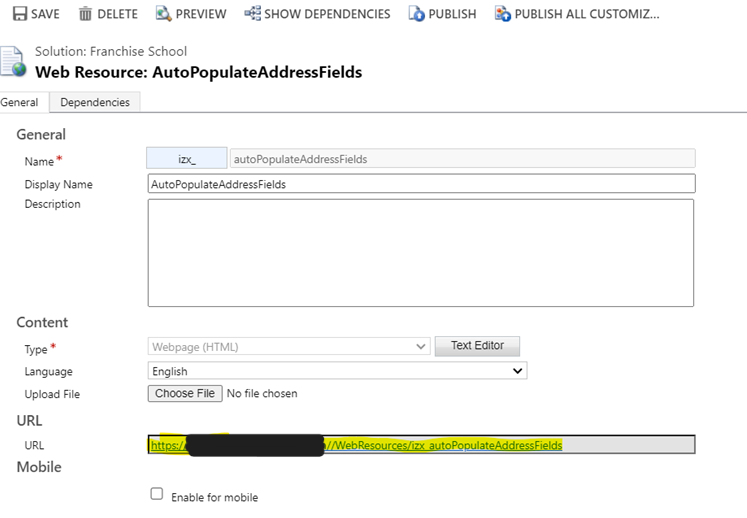
After uploading the HTML file, save and publish it. Upon publishing, you will obtain the URL for accessing the file.
HTML Web Resources
JavaScript Web Resources
Step 4:
Embed in IFrame:
Place an IFrame on the CRM form where you desire the address fields. Set the source of the IFrame to the URL of the HTML web resource obtained earlier.
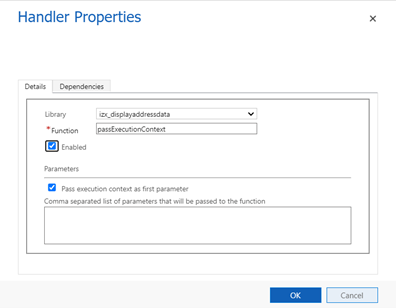
Then, paste the URL into the URL field. Finally, add a library to the events for further functionality and finally adding a function and passing excution context as first parameter
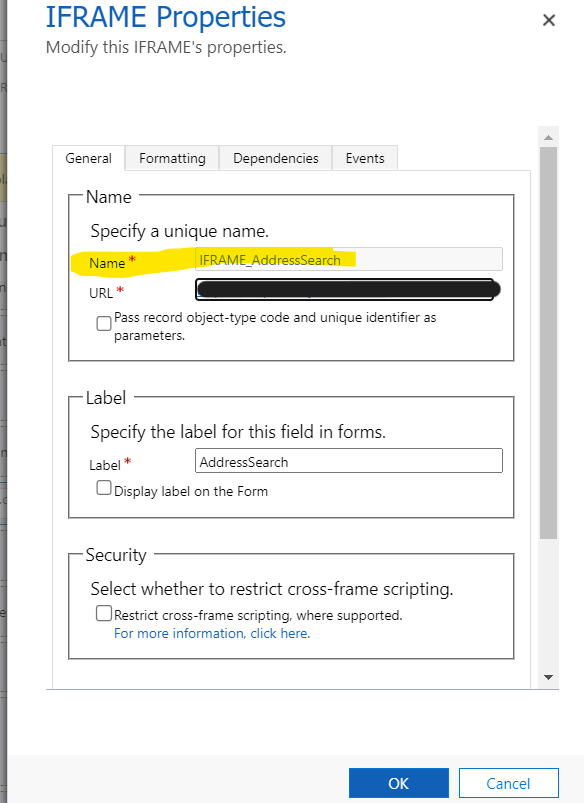
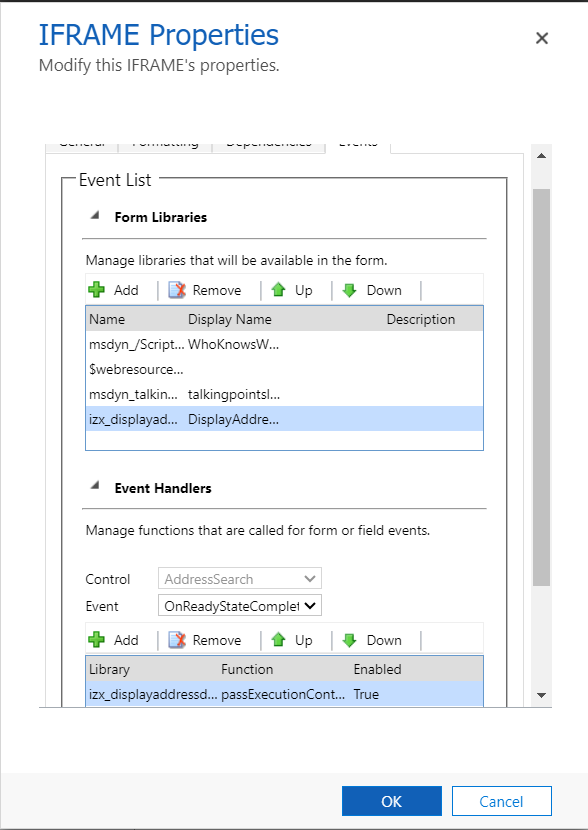
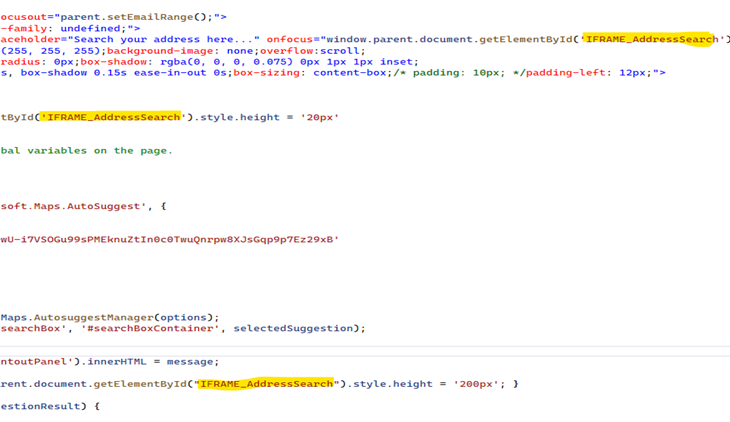
We need to add the Name in HTML JavaScript Function, for specifying the name "AddressSearch" for the URL loaded within the iframe.

Streamlining Address Entry in Dynamics 365: Auto-Population with Bing Maps Integration


